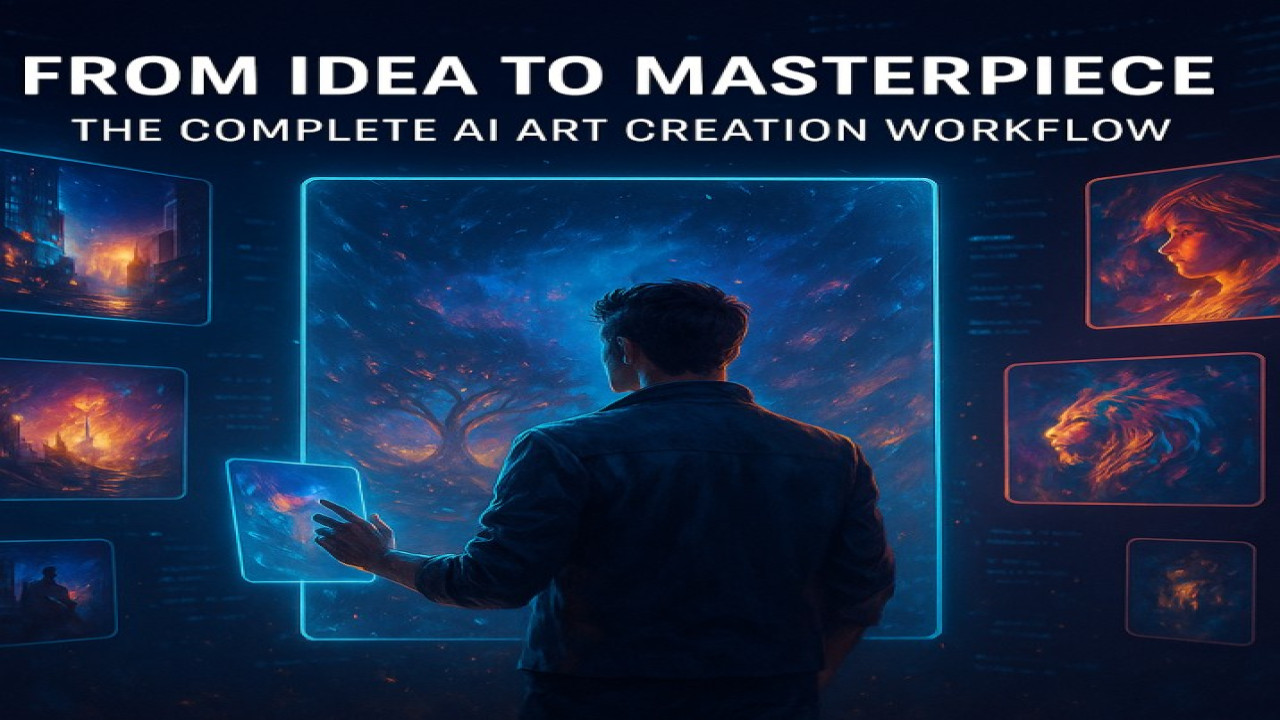
From Idea to Masterpiece: The Complete AI Art Creation Workflow
🎨 Introduction: From Vision to Creation
Every stunning AI artwork begins the same way — with an idea.
But transforming that idea into a masterpiece requires more than typing a random prompt.
On StyonArt, the creative journey is designed to guide artists from raw inspiration to polished, professional results.
In this article, we’ll explore each step of the AI art creation workflow — so you can turn your imagination into reality.
💡 1️⃣ Step One: Define Your Concept
Before touching the keyboard, visualize your idea.
Ask yourself:
What do I want to express?
What mood or story should this image tell?
Who is the subject, and what makes it unique?
💬 Example: Instead of just “a woman in nature,” imagine “a woman meditating under a glowing tree at sunset, surrounded by floating lights.”
That clarity becomes the foundation for your prompt.
🧠 2️⃣ Step Two: Write the Perfect Prompt
Your prompt is your creative script.
Use this simple but powerful structure:
[Subject] + [Environment] + [Lighting] + [Style] + [Emotion] + [Details]
✅ Example:
“A futuristic samurai standing on a skyscraper rooftop at night, neon rain, cinematic lighting, ultra-detailed, dramatic mood.”
💬 Pro tip: Add emotion words — serene, epic, nostalgic — to make the AI understand the tone you want.
🧩 3️⃣ Step Three: Choose the Right AI Model
Not all AI models “see” your words the same way.
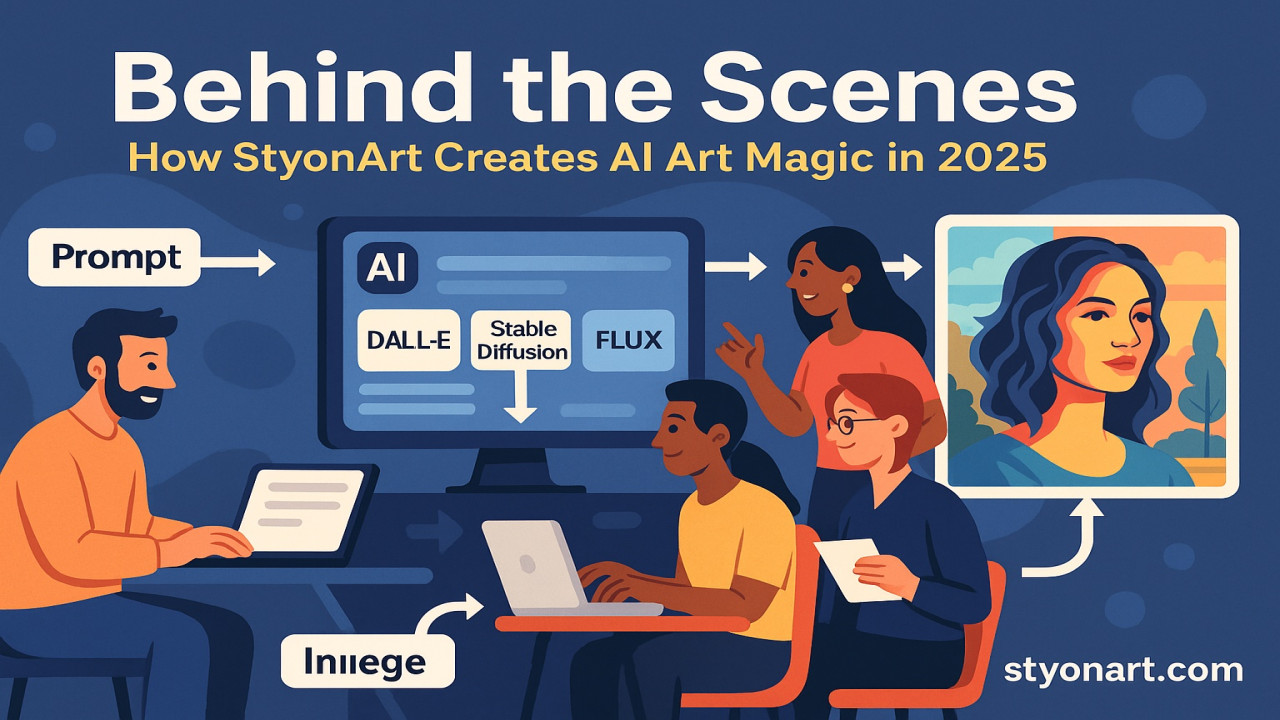
On StyonArt, you can choose between engines like:
Stable Diffusion 3.5 Large → perfect for cinematic realism
Flux Schnell → for fast, creative results
DALL·E 3 → for storytelling and fantasy themes
💡 Try generating the same prompt in different models — you’ll learn how each one interprets your imagination.
⚙️ 4️⃣ Step Four: Adjust and Regenerate
Don’t stop at the first result. The secret to professional AI art is iteration.
Change a few words (ex: “golden light” → “soft morning light”)
Try different compositions (ex: “close-up”, “wide shot”)
Add artistic styles (“oil painting”, “digital illustration”, “3D render”)
🎨 Small prompt changes can completely transform your artwork.
🔮 5️⃣ Step Five: Enhance with Editing Tools
After generation, refine your image:
✔ AI Retouch — improves clarity, lighting, and details
✔ Upscale to HD or 8K — for print or large display
✔ Background enhancement — add depth or focus
On StyonArt, all these tools are integrated — so your final piece looks gallery-ready.
📦 6️⃣ Step Six: Turn It Into a Product
Once your AI image looks perfect, it’s time to make it tangible.
You can turn it into:
🖼️ Canvas or Metal Prints
☕ Custom Mugs
🎁 Personalized Gifts
💬 StyonArt connects creation and customization — one click and your art becomes a physical masterpiece.
🚀 7️⃣ Step Seven: Share and Inspire
Your art deserves an audience.
Share it on StyonArt’s community gallery or social platforms like Instagram and TikTok.
Use hashtags like #AIart #StyonArt #DigitalCreativity to reach more creators.
✨ The more you share, the more your art inspires others to create.
🧩 Conclusion: Your Workflow, Your Legacy
Every masterpiece starts with one spark — an idea.
But what turns that spark into magic is discipline, creativity, and iteration.
On StyonArt, your tools, imagination, and community come together — guiding you from idea to masterpiece.
🎯 Start your next creation today at StyonArt.com and craft art that speaks beyond pixels.


Comments (0)
No comments found